Note: Due to the wide max content width defined for this theme, there is CSS included that allows for a wide image but narrow content in the default single post layout (better for readability). The CSS in the Custom HTML block below overrides the aforementioned CSS so this template can be used with a sidebar and the content width expands to use the full space defined in the row’s Content Max Width setting.
You can delete this note, but if you wish to retain the layout as provided, do not delete the Custom HTML block below. That block and this note do not show on the front end.
By babesengaged
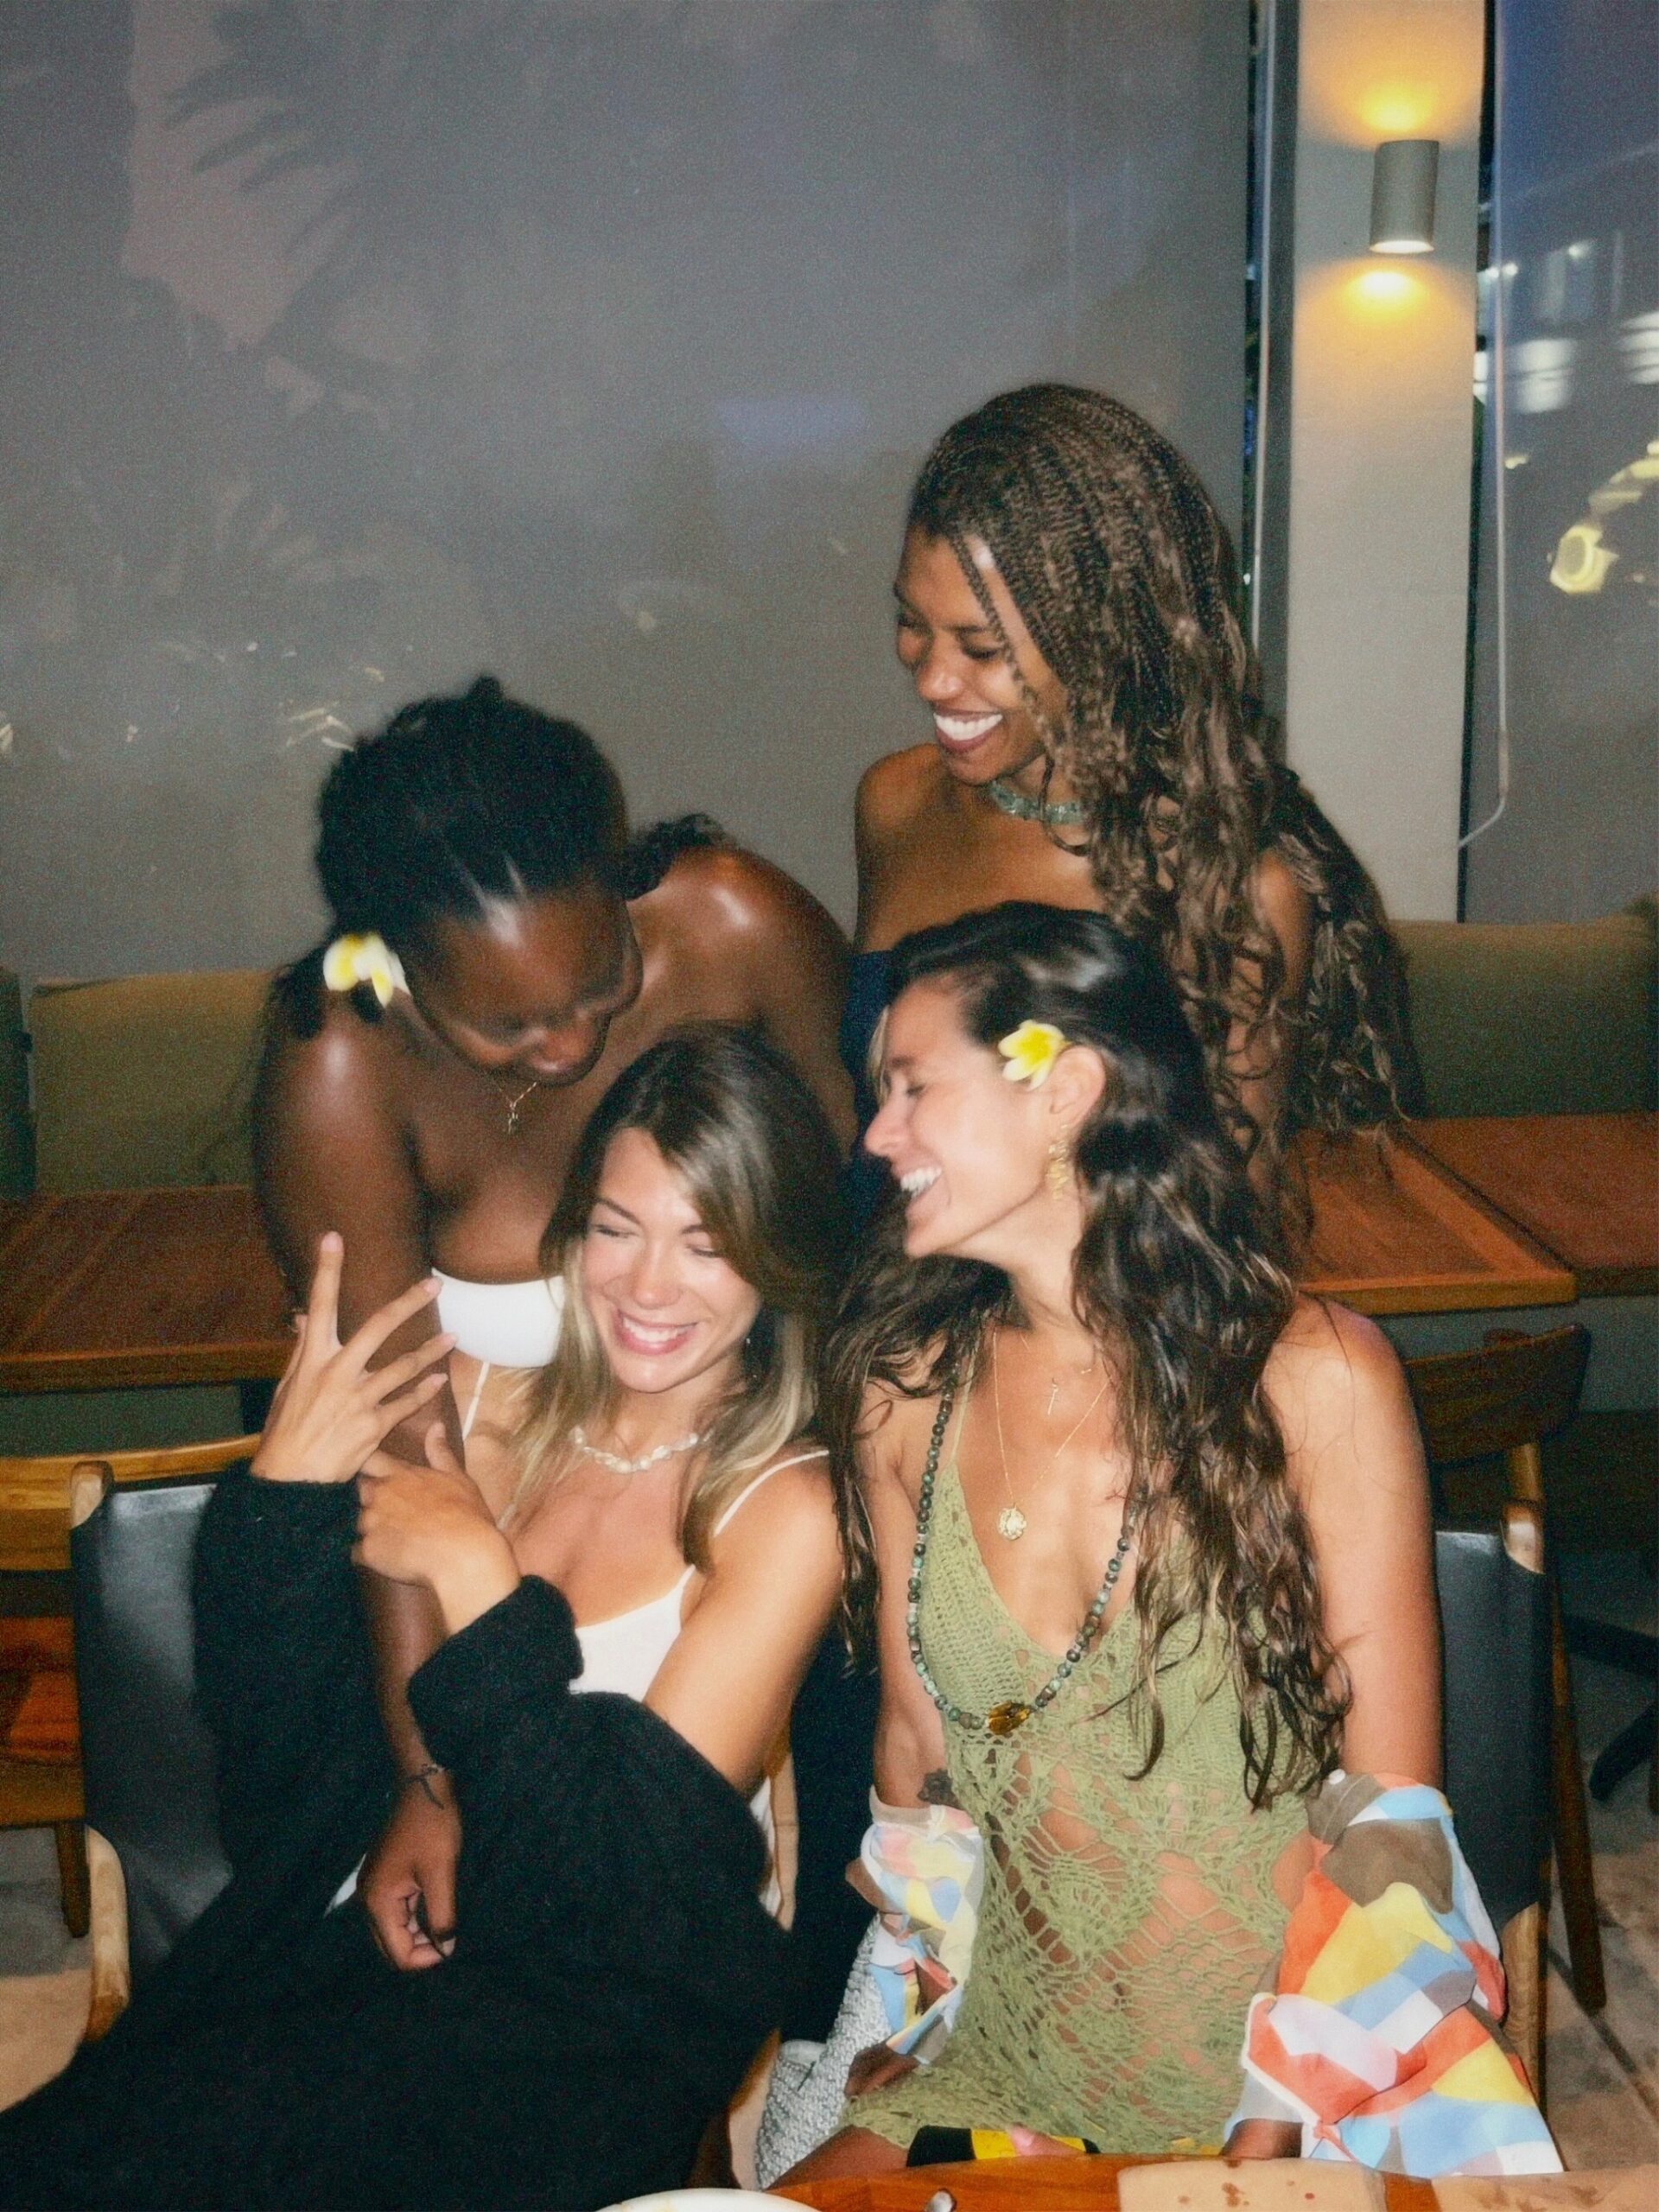
You’re the one planning the bachelorette party. Maybe you’re the maid of honor, maybe the bride’s oldest friend, maybe the sister who the bride knows “can handle it.” However it happened, here you are.
And sure, when you first said yes, it sounded fun. But then reality showed up in the form of the group chat. Twenty unread messages every hour, half the group saying “I’m in!” but not actually booking flights.
You love her. That’s why you’re doing this. But if you’re going to survive it and enjoy the weekend yourself, you need a plan. A checklist. Something that keeps you from losing your mind while making sure the bride feels celebrated the way she deserves.
Here’s how you pull it off.
Checklist Step 1: Finalize the Date and Guest List
You can’t book a single thing until you know who’s in and when they’re free. You may encounter a challenge here with commitment to a bachelorette weekend date. Someone’s waiting for their holiday calendar. Someone else says “maybe” and never follows up. There
The only way through it: start with the bride. Who does she absolutely need there? Write those names down. That’s your anchor. Then, don’t fall into the trap of asking “what weekend works for everyone?” Offer two or three options, get votes, then lock it. Someone will be unhappy. They’ll live.
Add to your checklist:
• Bride’s must-have guest list in writing
• Two or three weekend options sent in a poll
• RSVP deadline set (and enforced)
Checklist Step 2: Choose the Destination and theme
This is where the weekend starts to take shape. The destination sets the vibe: a city like New Orleans means nightlife and dancing until your feet hurt, beach means cocktails and sunburns, cabin means wine and board games until 2am. Don’t overcomplicate it. Pick what feels like her.
Then the theme. People roll their eyes, but a theme makes your life easier. It gives direction for décor, outfits, invites, and activities. It’s less about costumes, more about setting a mood. The bride will love that you thought it through.
Add to your checklist:
• Bride describes her dream weekend vibe
• Destination picked with budget + travel in mind
• Inspo board shared with the group
Checklist Step 3: Agree on the Budget
Ah, the money talk. Nobody likes it, but if you skip it, you’ll regret it. Lay it all out early. Housing, travel, main activity, meals, extras. Don’t sugarcoat it and be clear about the estimate before you book. That way, anyone who’s going to freak out can do it now instead of halfway through.
Add to your checklist:
• Budget outline with major costs
• Payment tracker (Splitwise, sheet, whatever works)
• Deposits collected for big items
• Bride’s share divided evenly
Checklist Step 4: Plan the Decorations
This is where you turn “Airbnb living room” into “bachelorette HQ.” You don’t need to cover every inch in pink streamers. Think impact over clutter. One balloon arch looks amazing in photos. Ten mismatched banners taped everywhere? Not so much.
Also: logistics matter. A neon sign looks great, but do you want to haul it through TSA? Probably not. A décor survival kit of string, tape and zip ties will save your life when the balloon garland falls down for the third time.
Add to your checklist:
• One statement piece (balloon arch, neon sign, or backdrop)
• Personalized banner or welcome sign
• Group photo props (sashes, hats, sunnies)
• Small décor kit packed
Checklist Step 5: Send Invitations
The invite is your first chance to set the tone and stop the endless questions. If you do it right, half your group chat problems disappear.
Digital works fine (Canva, Etsy templates) but printed can feel like a sweet keepsake. Stick to the essentials: dates, location, RSVP info, theme, dress codes, and a loose outline of what to expect.
Add to your checklist:
• Invites designed and sent
• Travel info included
• Dress codes spelled out
• Mini bachelorette itinerary added
Checklist Step 6: Plan Games and Activities
This is the fun glue that makes it a bachelorette. Without it, you’ve just got “a weekend trip.” But don’t schedule every second. Nobody wants to feel like they’re at camp.
Aim for one big activity, a night out, and a couple of games sprinkled in. The bride gets her spotlight, the group gets their laughs, and you still have downtime for spontaneous fun.
Add to your checklist:
• One highlight activity booked
• One printed bride-focused game ready
Checklist Step 7: Confirm Reservations
The most boring but most important step. A week out, go back and check everything. Restaurants lose reservations. Activities get double-booked. Do not trust the universe.
It takes ten minutes of calls and saves you hours of panic.
Add to your checklist:
• Accommodation re-confirmed
• Restaurant bookings checked
• Activity bookings confirmed
• All confirmations saved in one place
Checklist Step 8: Prepare the Party Favors
Party favors aren’t required, but they make people feel seen. And they make the bride feel spoiled. Keep it practical: stuff they’ll use during the weekend or take home. No one wants to pack tiny plastic trinkets. We’ve got some great ideas for party favors ready to dip into.
Add to your checklist:
• Matching pajamas/robes/slippers
• Hangover kits with basics
• Group keepsake (tote, tumbler, sunnies)
• Special favor just for the bride
Checklist Step 9: Draft the Bachelorette Weekend Itinerary
Don’t overthink this. An itinerary isn’t about micromanaging, it’s about avoiding the dreaded “so… what now?” Keep it loose. Anchor each day with one main thing, then let the rest breathe.
Day one: arrivals and a dinner. Day two: big activity, main night out. Day three: brunch, hugs, home. That’s enough.
Add to your checklist:
• Welcome dinner planned
• Main event + night out scheduled
• Farewell brunch booked
• Itinerary shared with guests
Final Takeaways
Planning a bachelorette weekend is chaos. Someone will forget their shoes. A flight will be late. A restaurant will seat you an hour after your booking. It’s fine. What matters? The bride feels celebrated. You laugh more than you stress.
So yes, you’re the planner. But you’re also part of this. Once the banner’s up and the first round is poured, stop worrying about the bachelorette party checklist. Join in. Because you’ve earned it as much as she has.
